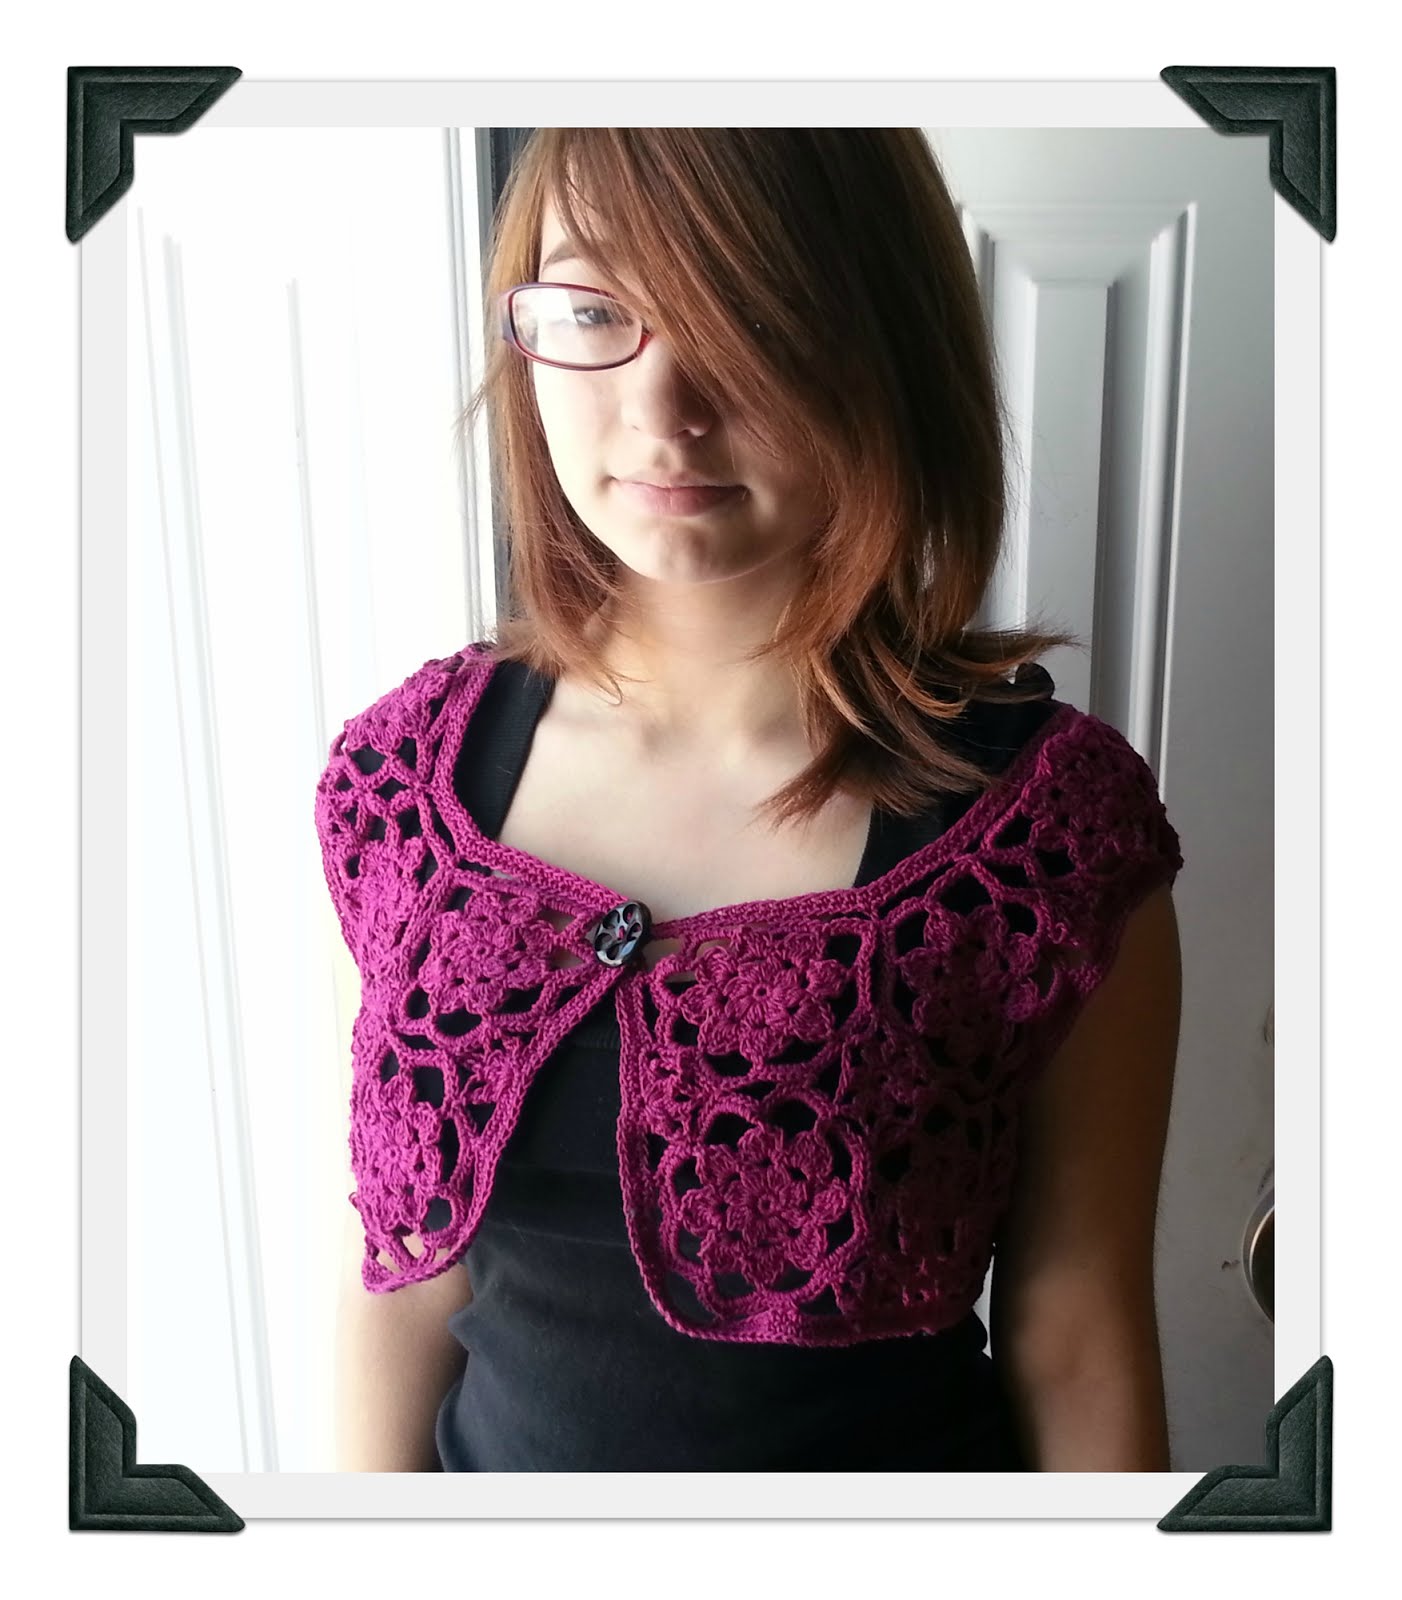
The instructions are for size small/medium. I didn’t write up larger ones, but I don’t think it will be hard to alter. Use larger yarn/thread or add a few motifs.
materials:
Size 5 crochet thread. I used 4 50gram balls with 150m each. Well, 3 and part of the 4th.
3.5mm crochet hook
large button
----------------
Made from 26 main motifs with 14 small (fill-in) motifs and 26 half small (fill-in) motifs
 Main motif - make 26
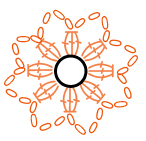 small motif - make 14 Can be made before assembly, but just as easy to make them as you put them together.
 half small motif - make 26 (really easier to not make ahead of time and just add them after the border is done)
Main Motif
Start with magic or sliding ring
R1 - 8 sc in ring draw ring tight
R2 3 sc (first leg of cluster)
yo insert hook into first stitch, yo draw yarn through
yo insert hook into same st, yo draw through 2 loops
yo insert hook into same st, yo draw through 2 loops
yo insert hook into same st, yo draw through 2 loops
yo and draw through all loops on hook.
ch3
*yo insert hook into next stitch, yo draw yarn through
yo insert hook into same st, yo draw through 2 loops
yo insert hook into same st, yo draw through 2 loops
yo insert hook into same st, yo draw through 2 loops
yo insert hook into same st, yo draw through 2 loops
yo and draw through all loops on hook.
Ch3
Repeat from * around for all 8 sc on row 1
join with slip stitch to top of first cluster
R3 slip stitch to first chain 3 space
ch1
* sc in chain 3 space
5 dc in same space
sc in same space
Repeat from * in all 8 spaces
join with slip stitch to first sc made
R4
slip stitch to 3rd DC in first group.
Chain 1
sc in same space
chain 9
*sc in 3rd DC of next group
Chain 9
repeat from * around
join with slip stitch in first sc made
R5 chain 1
11 sc in each chain 9 space around
To join as you go it helps to think of each motif as a square with 2 11 sc sections making up one side.
Attach motifs by doing 5 sc in the chain 9 space and then using the 6th sc to connect the motif to the 6th sc in the matching section of another motif. Then sc 5 more to finish that section.
or make all the motifs and attach them at the corresponding 6th scs
Small Motif
These fill in the space left after join the main motifs

Start with magic or sliding ring
R1 - 8 sc in ring draw ring tight
R2 3 sc (first leg of cluster)
yo insert hook into first stitch, yo draw yarn through
yo insert hook into same st, yo draw through 2 loops
yo insert hook into same st, yo draw through 2 loops
yo and draw through all loops on hook.
(there are only 3 legs to this cluster instead of 4 as on the larger motif)
After the first cluster is made you should decide if you are going to join it as you go or make and then sew them together.
To finish the motif and then sew them:
Continue R2 by chaining 4 and making clusters in each sc from R1. Slip stitch to beginning cluster and fasten off
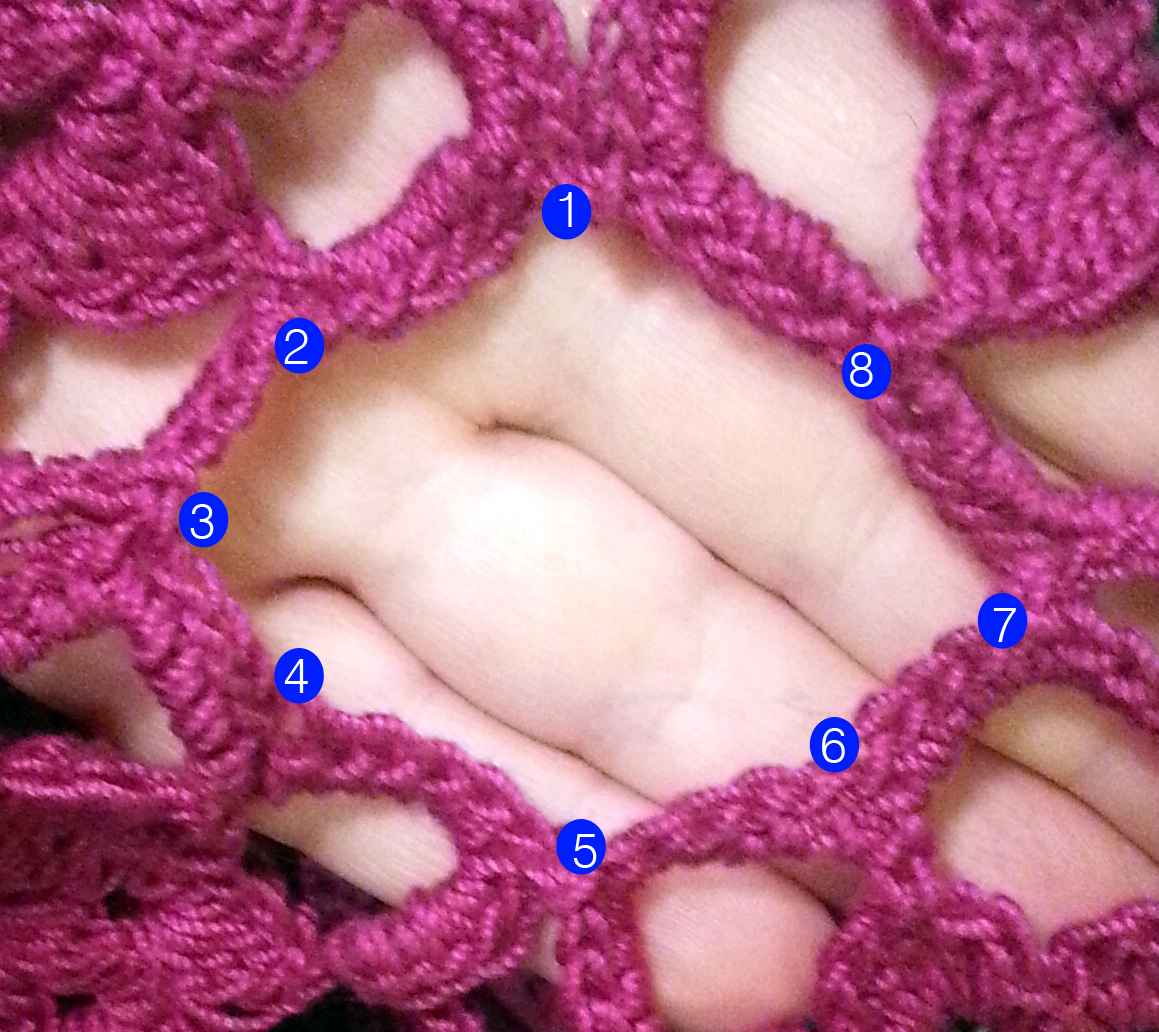
To join as you go, ch2, slip stitch into main motif and then chain 2 before making next cluster. repeat around. You will have 8 clusters and 8 joins.
The joins are illustrated in the picture below
This is the layout. The half motifs are shown, but I found it easier to add them after making the sc border.
To do the border
Attach thread at any point, I chose the back.
When chaining between points on the same motif, chain 7
between motifs - chain 11
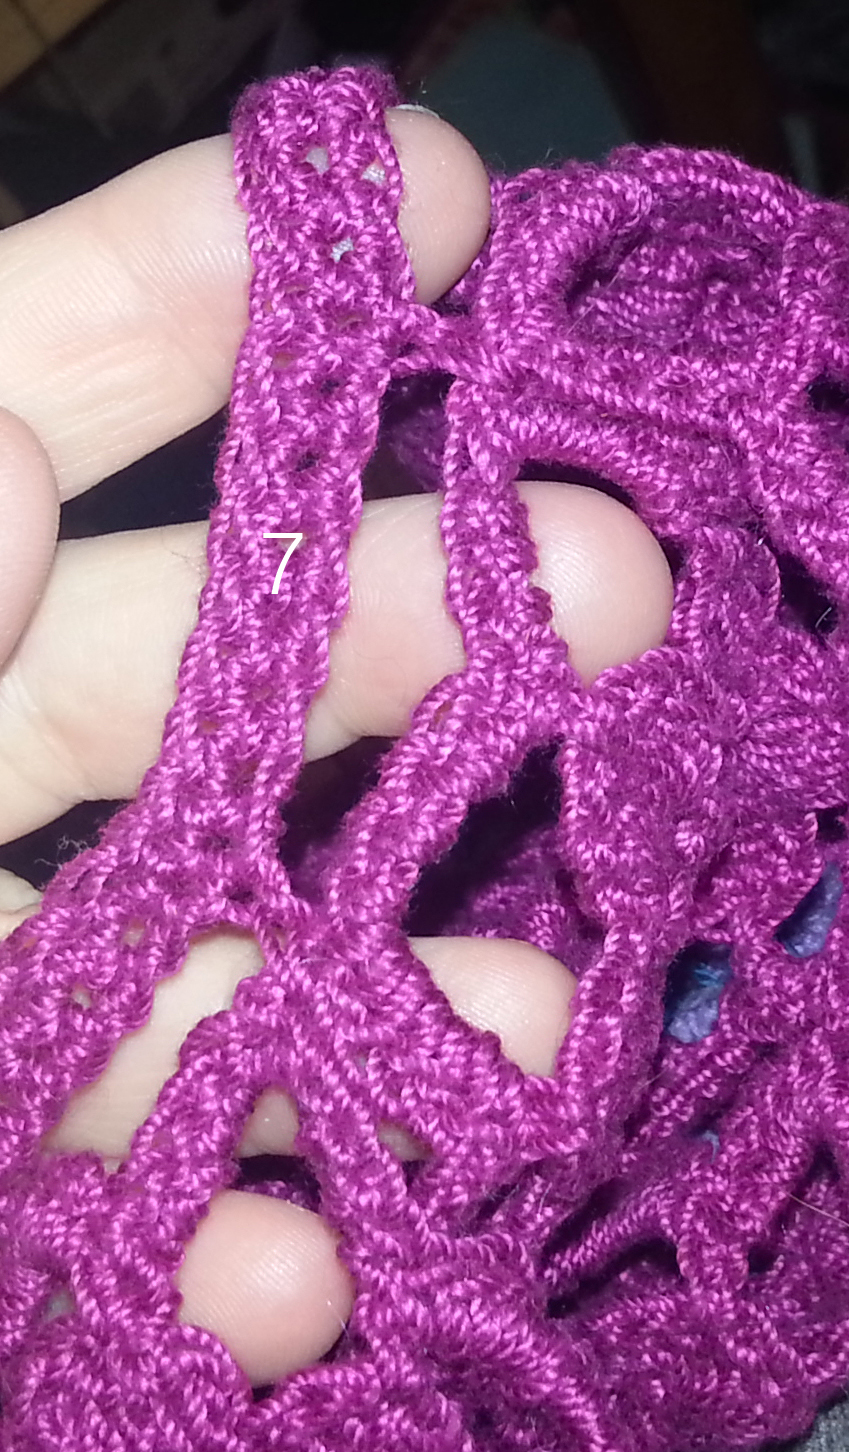
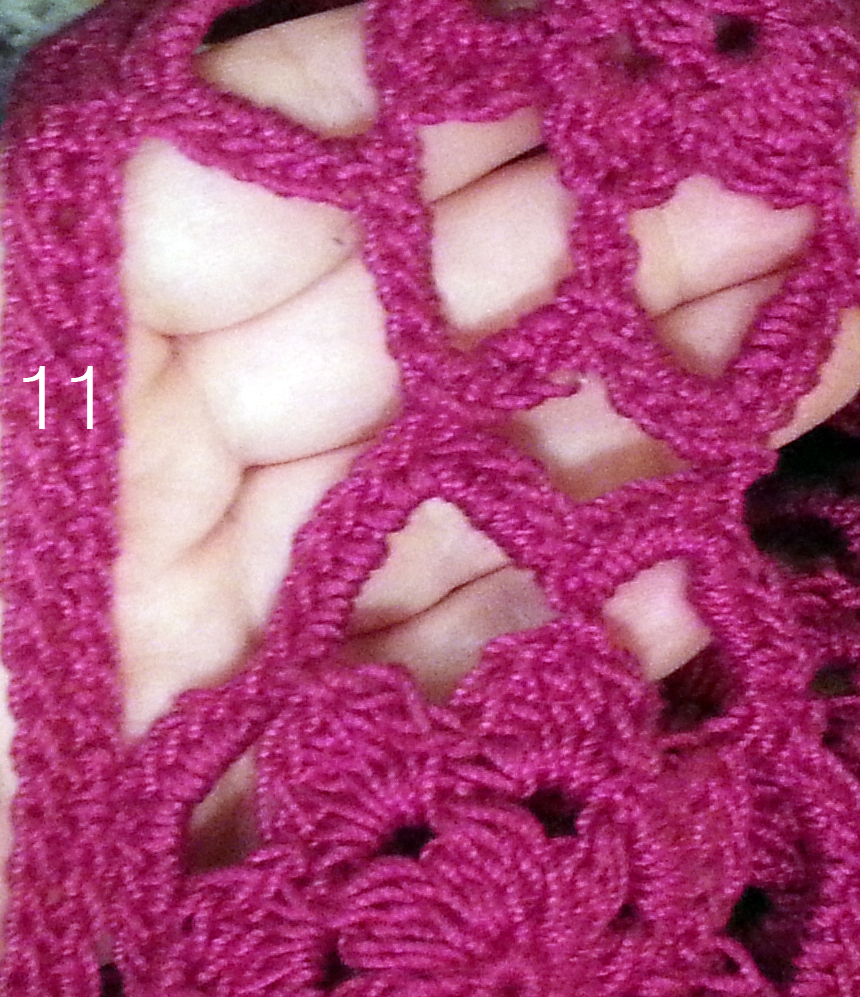
The half motifs will be put into the chain 11 spaces.
On outside corners there will be several chain 7 spaces in a row
Inside corners are a bit trickier. Just doing 11 between motifs will create too large of a gap, so instead chain 7, dc into join between two motifs and chain 7 to next motif

After you’ve gone all the way around the vest, the next two rows of the border are just sc. don’t sc in the spaces, make sure to work in the stitches so that you have 11 in 11chain spaces and 7 in 7 chain spaces, 1 in each sc or dc. It’s a firmer finish if you work the stitches not the spaces.
The half motifs can be made and then sewn or added after the border is finished.
 There will be 4 clusters and 3 joins
If you are making them and sewing, start with a magic ring and work same as small motif until you have 4 clusters done with 3 chain 3 spaces. Fasten off.
To work after making border
Attach yarn to stitch 6 of an 11 space.
Work cluster as in small motif. Chain 2 and then slip stitch into the join on vest. Chain 2 and work next cluster in same stitch.
Make a 4th cluster after the 3rd join and fasten off.
I tried to weave in ends as I went because that’s my least favorite part and too many items end up in the UFO pile if I wait to do it.
Blocking with a steam iron is a breeze.
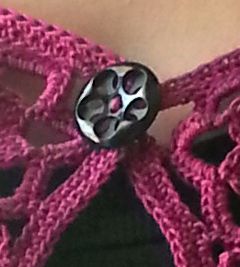
Add a large button to one side of the front and use a loop from the other side as a button hole.
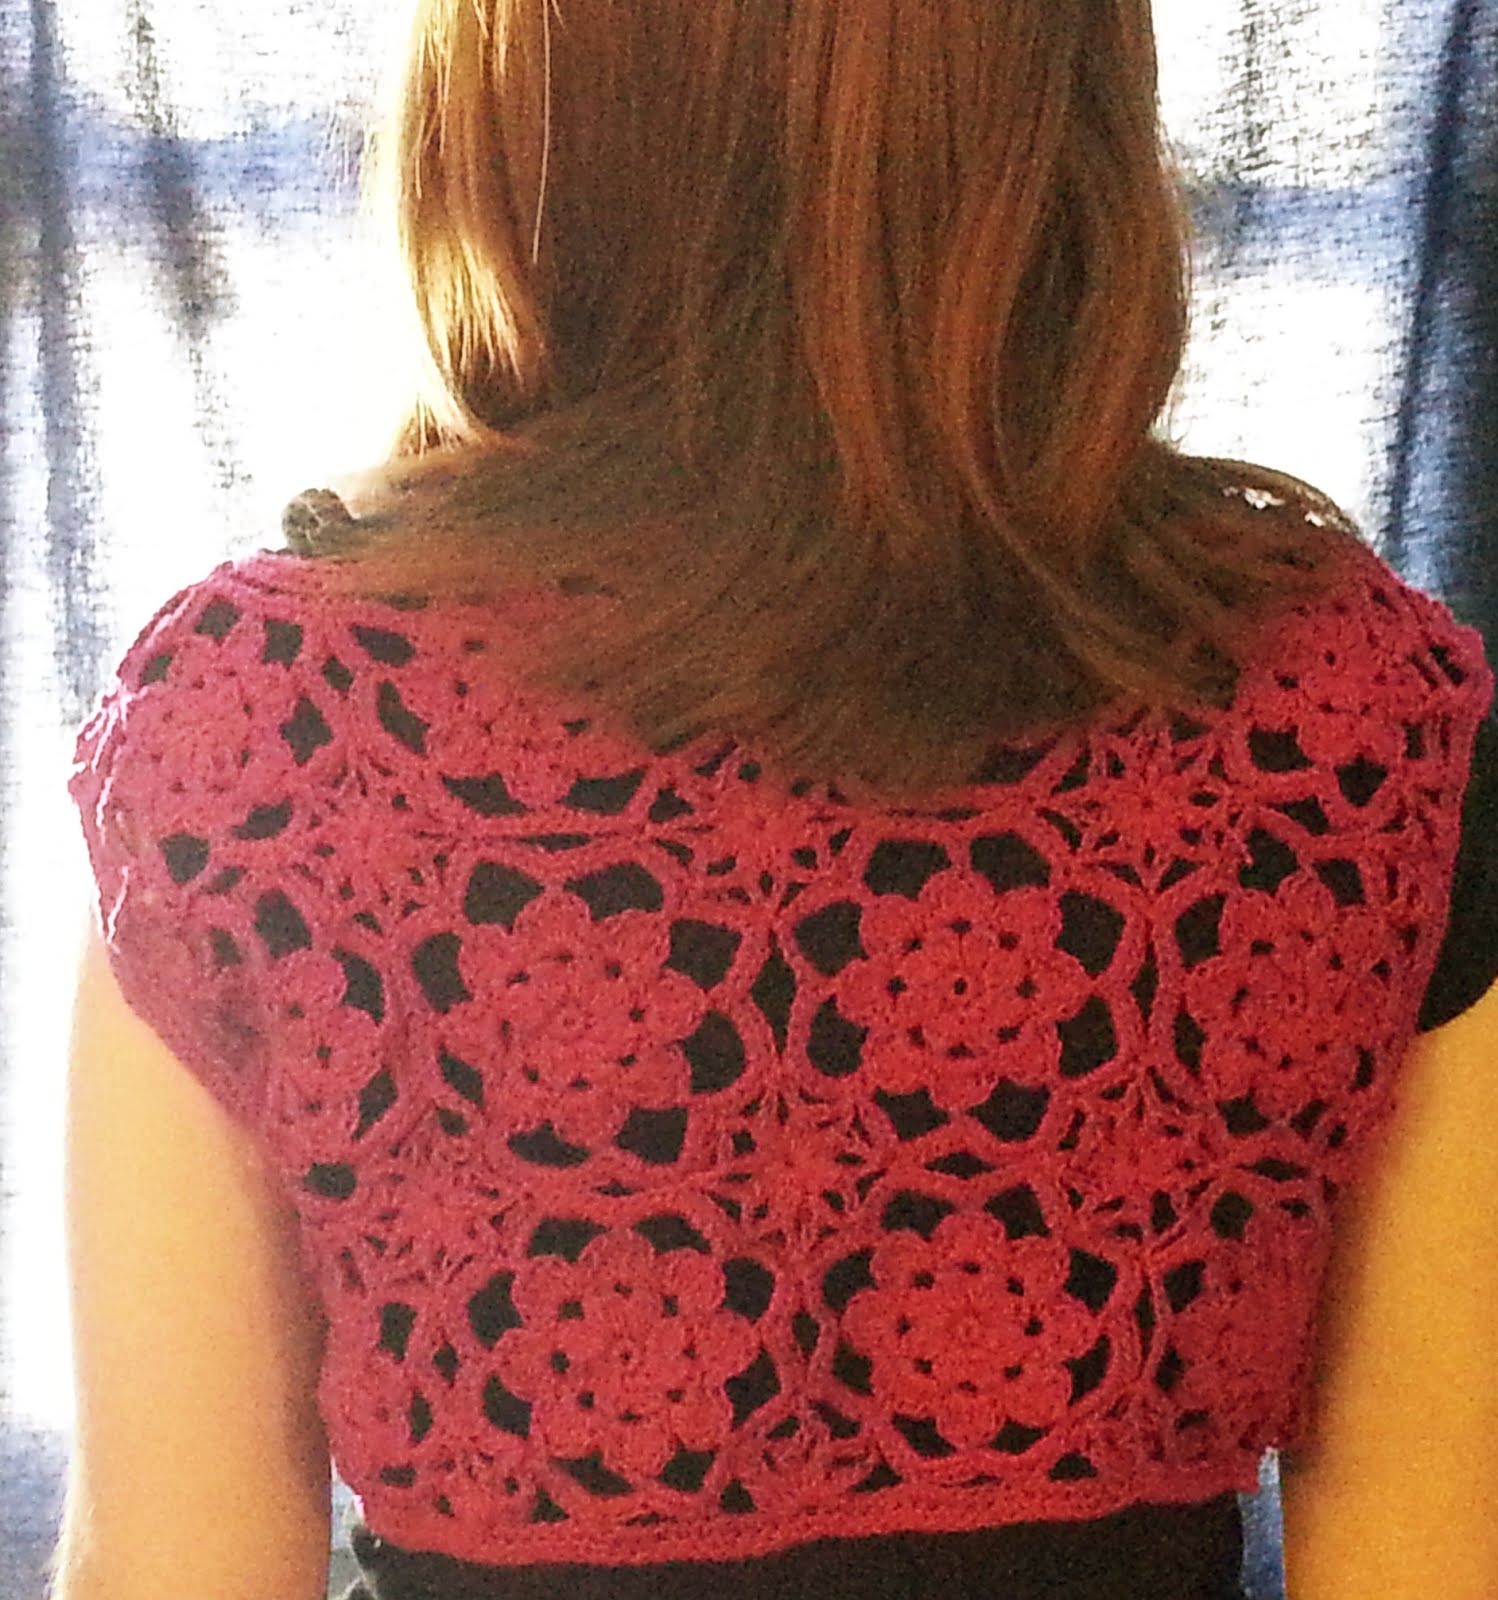
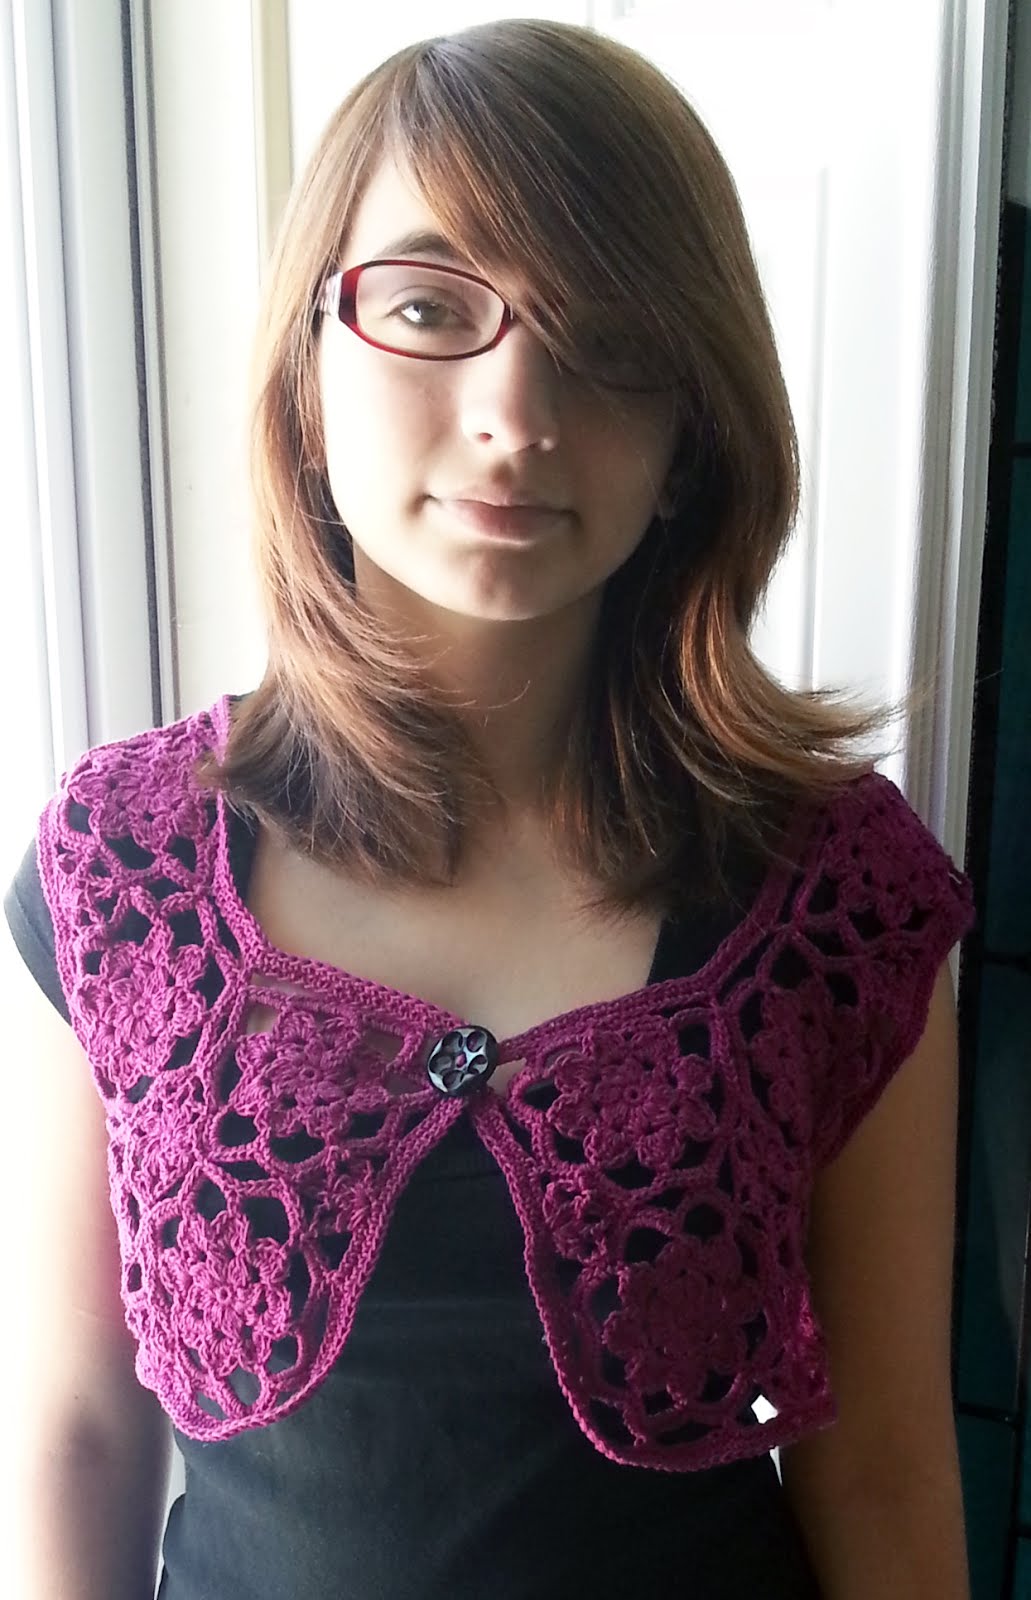 My model is 5’, size 4
This one hasn't been tested. Working on that this week - We'll see if any changes are required.