
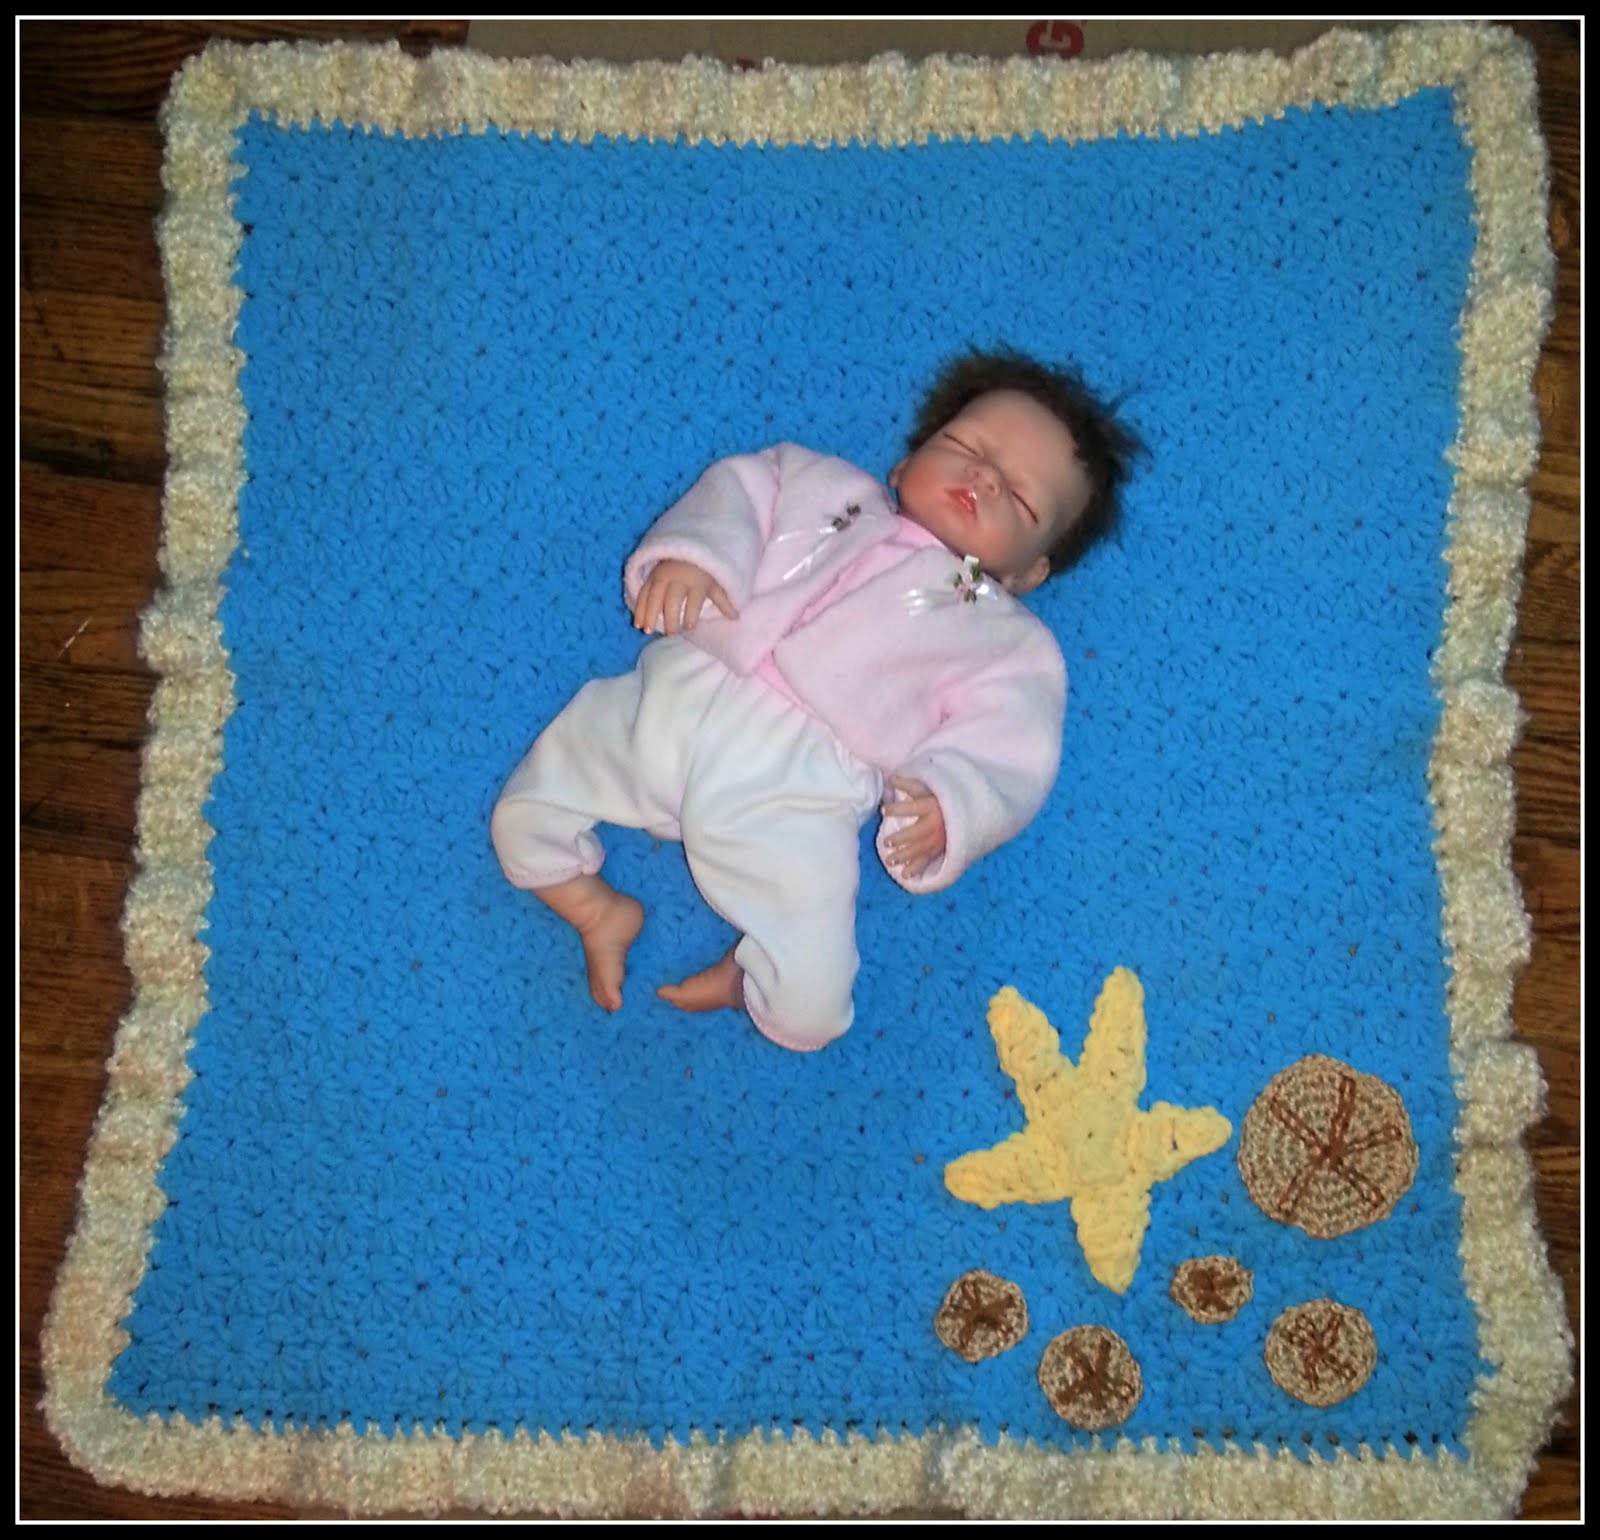

This plush, snuggly blanket is made with a size N hook so the work goes by fast. I used a couple of types of yarns, but any super bulky yarns will do.
1 skein Lion Brand Thick & Quick Homespun. It’s like regular homespun on bigger - for the edging I used about ¾ skein - so figure on at least 100 yards
Small amount of Bernat Baby Blanket for the starfish - a small skein will work. You won’t even need all of that. It comes in 86 yard skeins, but I used some off of a big ball, so I don’t have an exact amount. We’ll go with 15-20 yards, though that is probably overkill.
For the sand dollars I used Simply Soft - two strands held together because I didn’t have a color in my stash in a larger weight. Then I used some scrap yarn - also Simply Soft for the embroidery
Size N hook for blanket, edging and starfish
Size J hook for sand dollars
Large yarn needle
sc - single crochet
dc - double crochet
hdc - half double crochet
ss - slip stitch
ch - chain
------------------
Chain 59
Sc in second chain from hook and then sc all the other chains leaving you with 58 stitches
R2)
Going to start the star stitch. This row begins a little differently than the others will so it won’t be included in the repeats
Ch 4
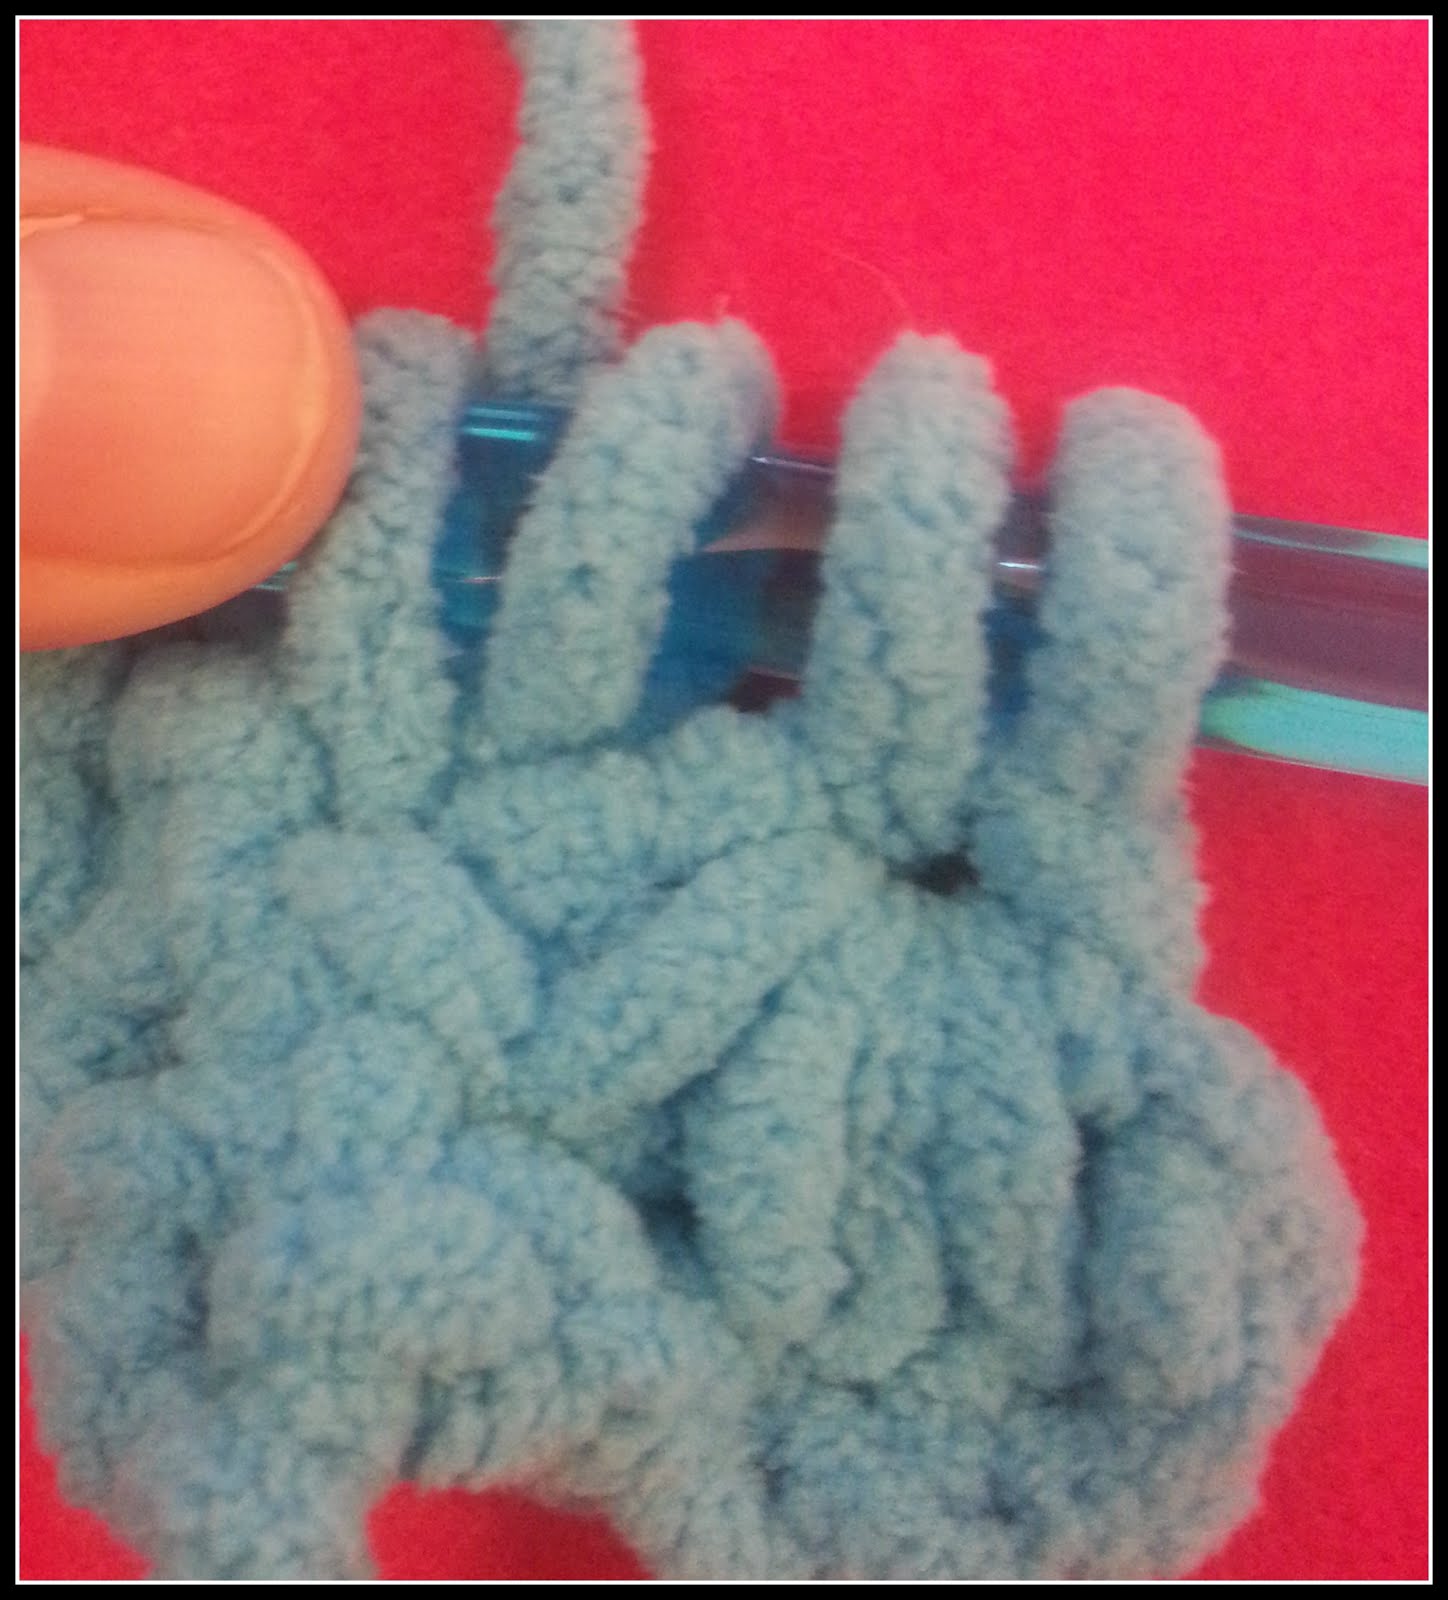
Pull up loops in the 2nd, 3rd & 4th chain from the hook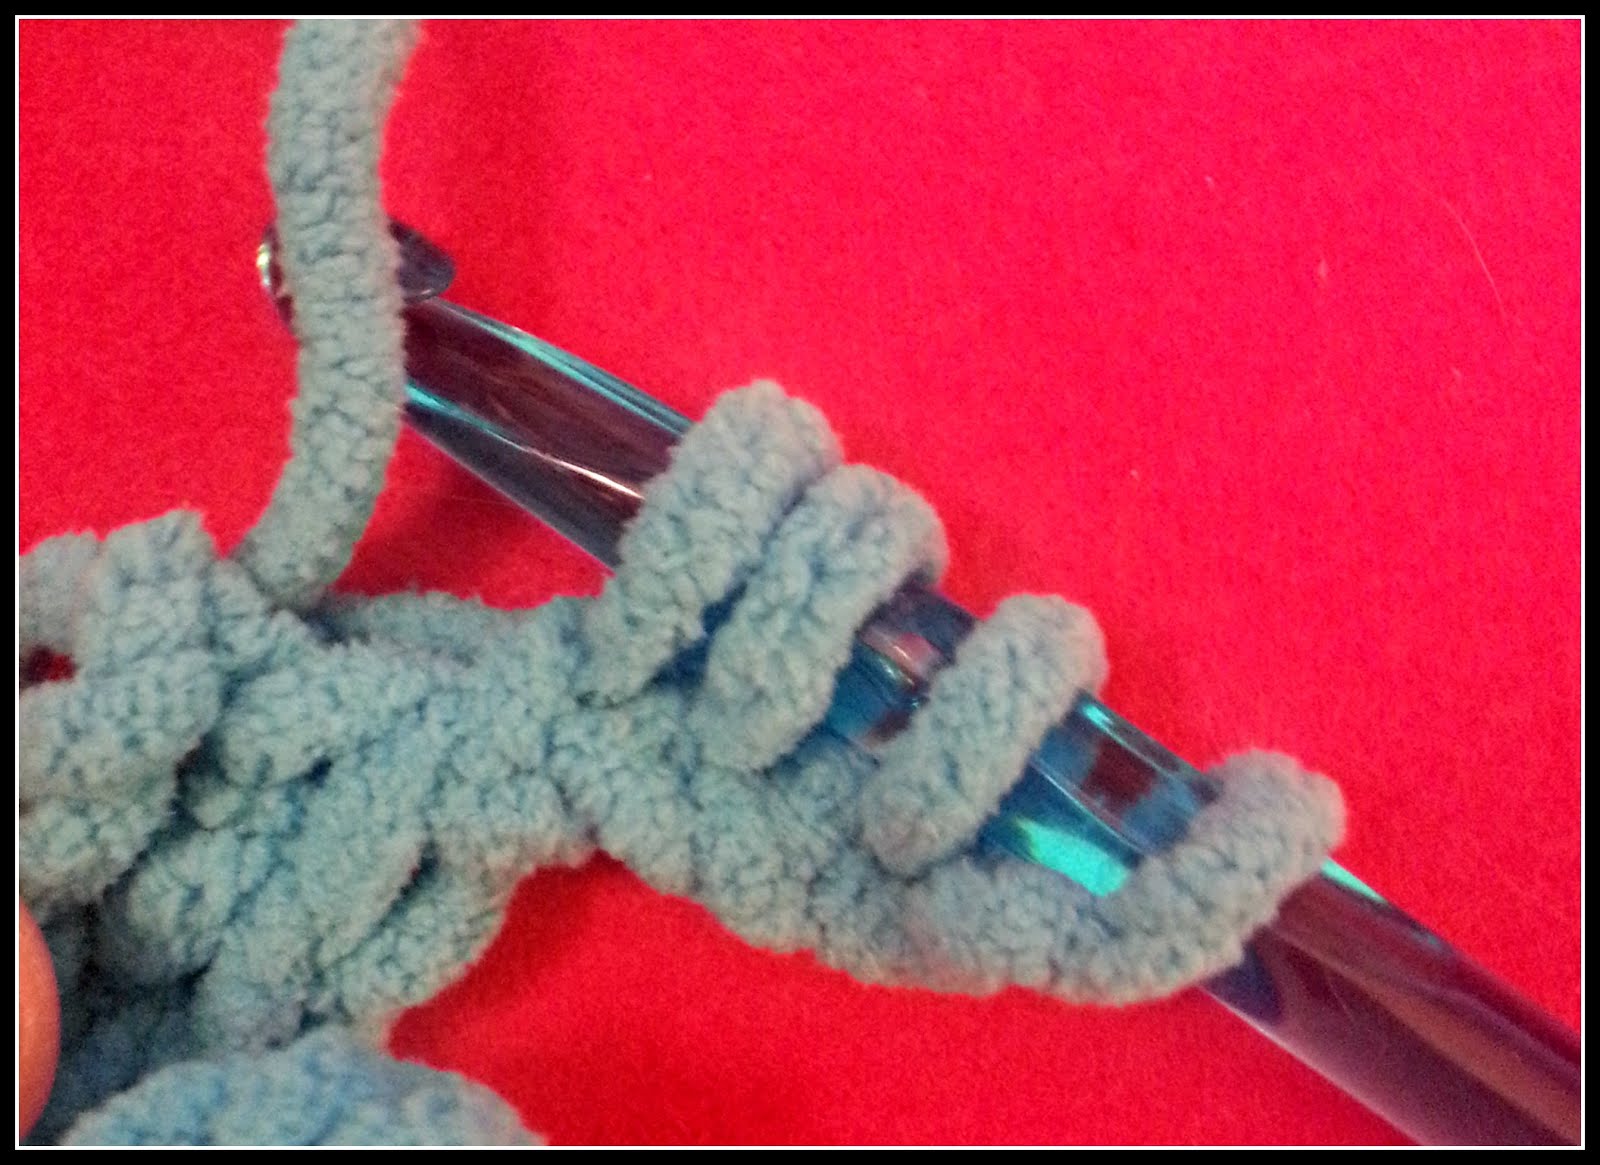
Now you’ve got 4 loops on the hook
Pull up a loop from each of the next two stitches, giving you 6 loops on the hook
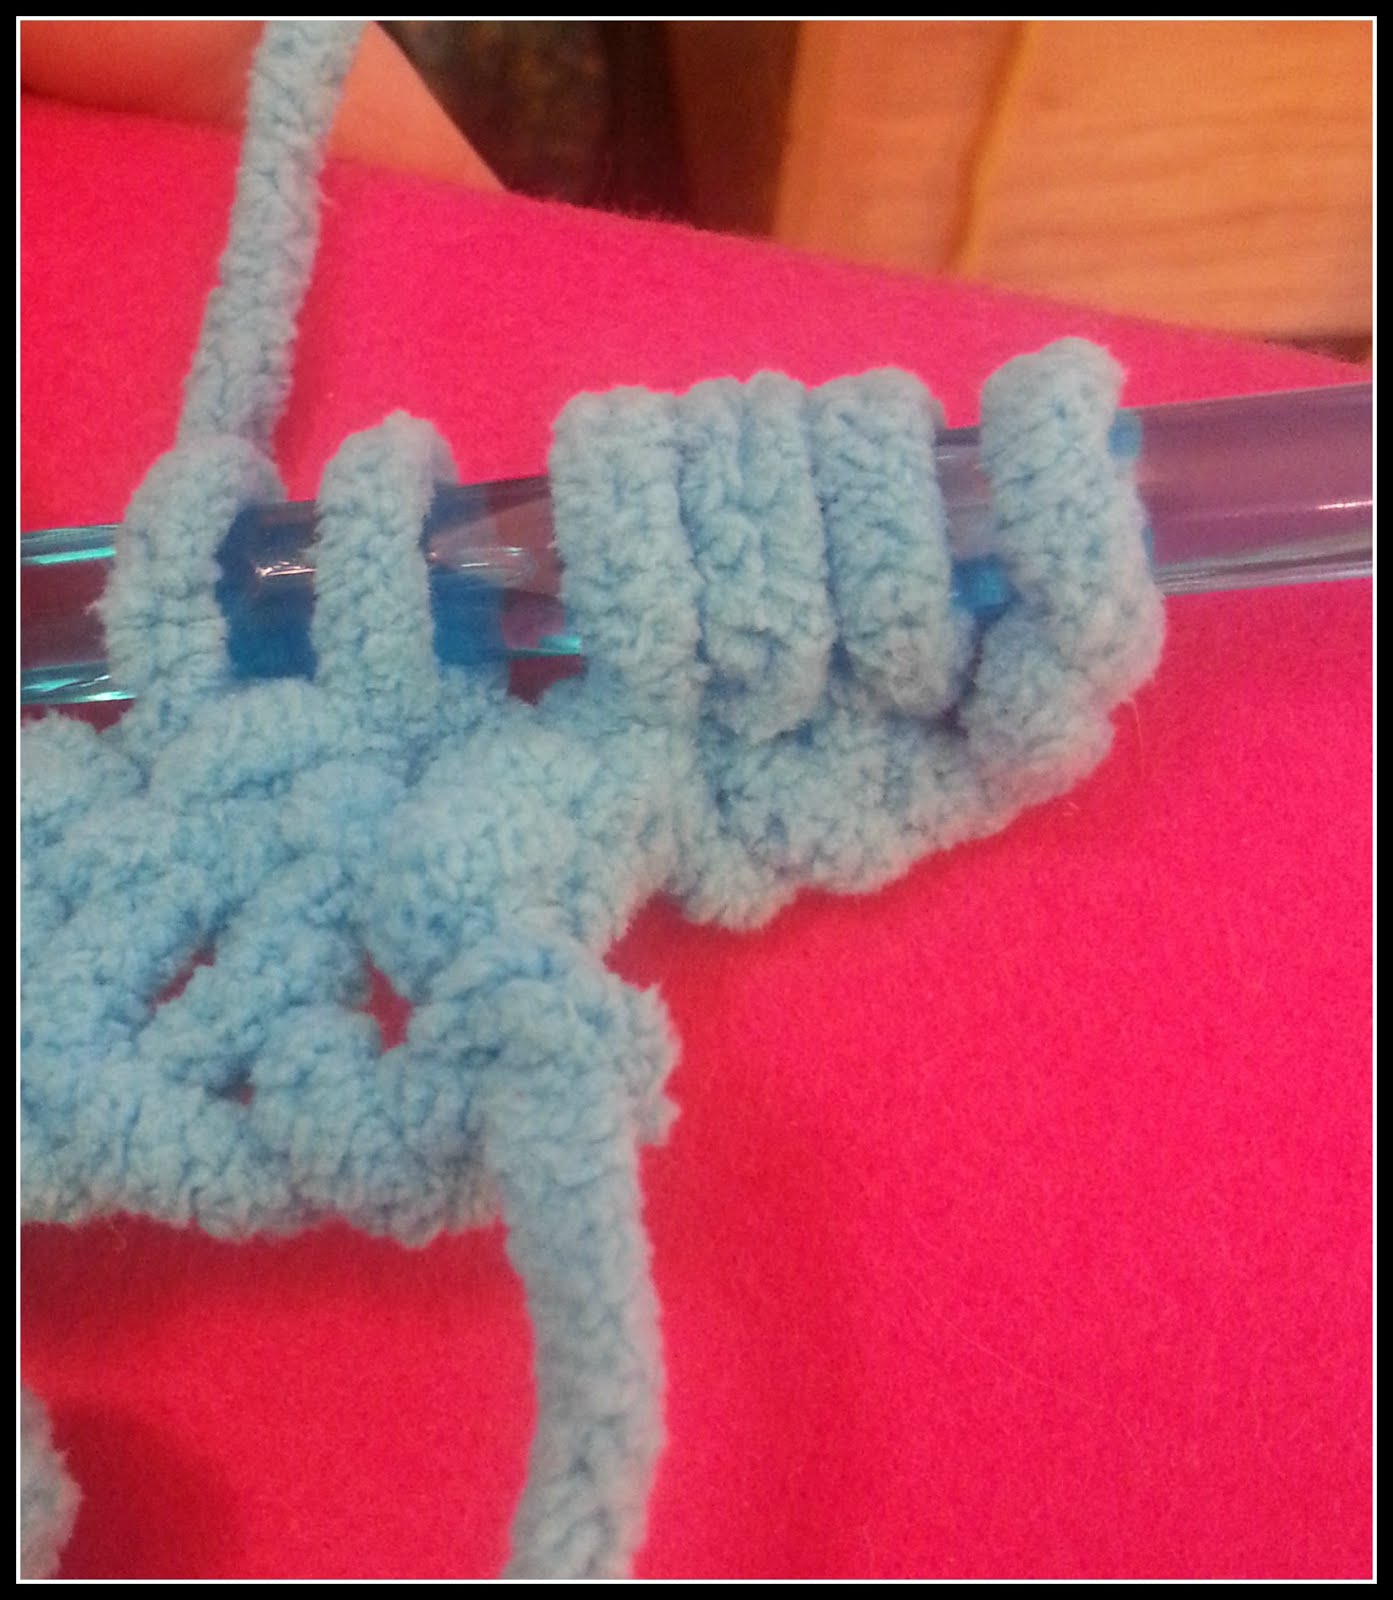
Yarn over and pull through all 6 loops
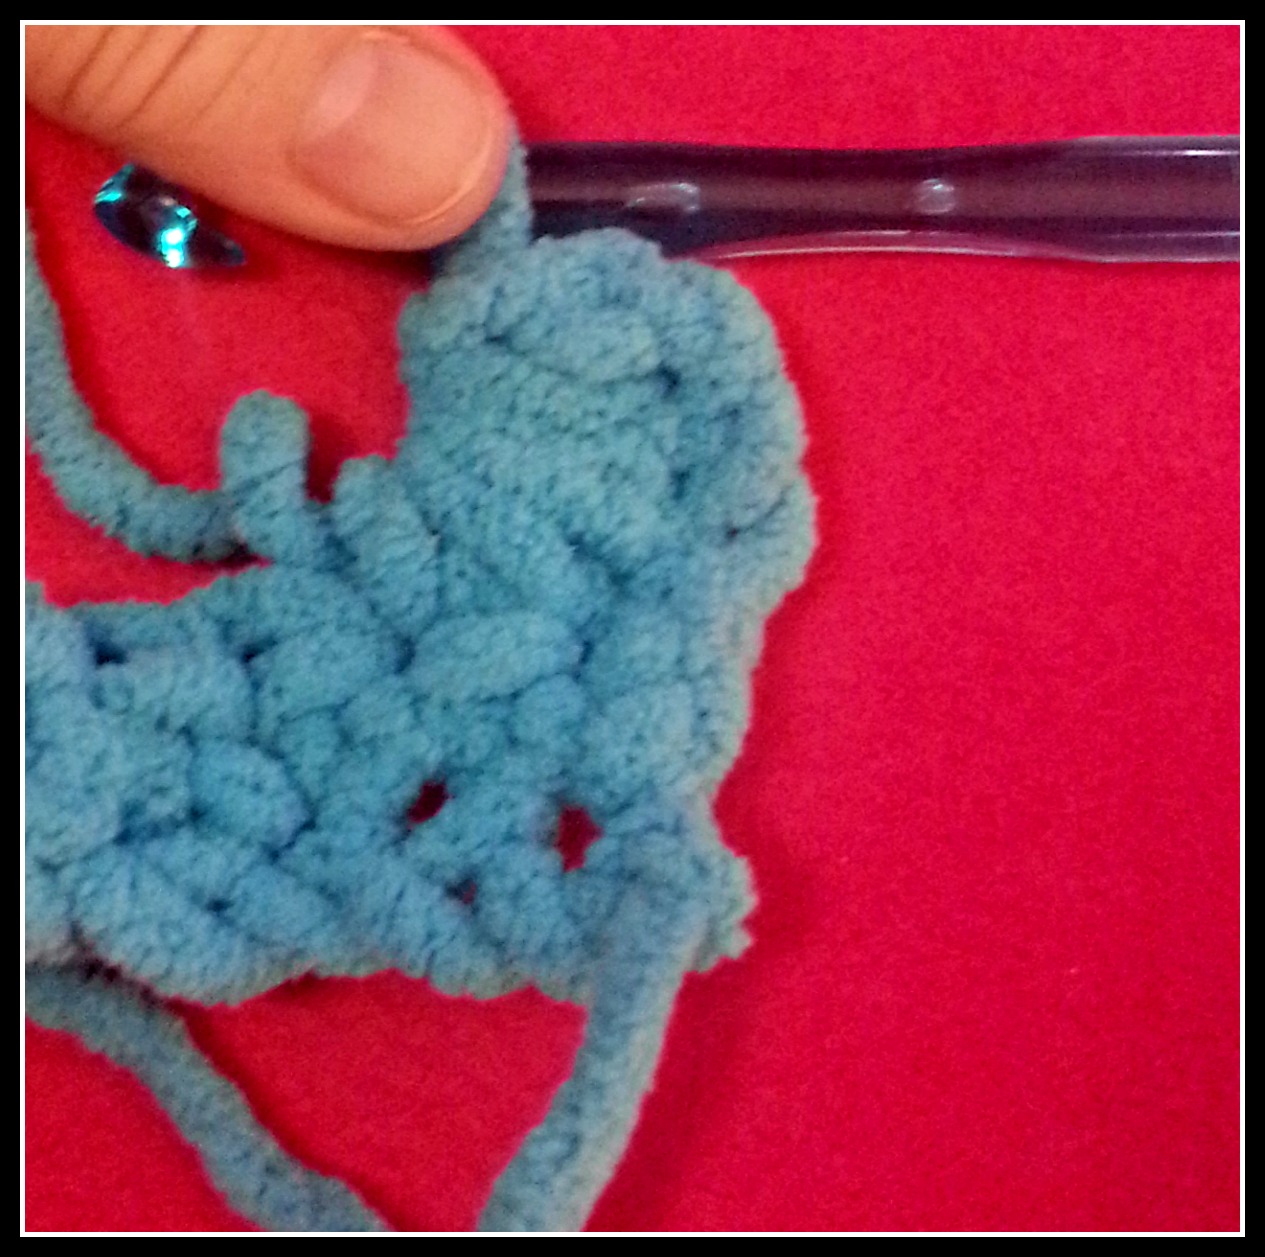
Yarn over and pull through the loop still on the hook, closing the star
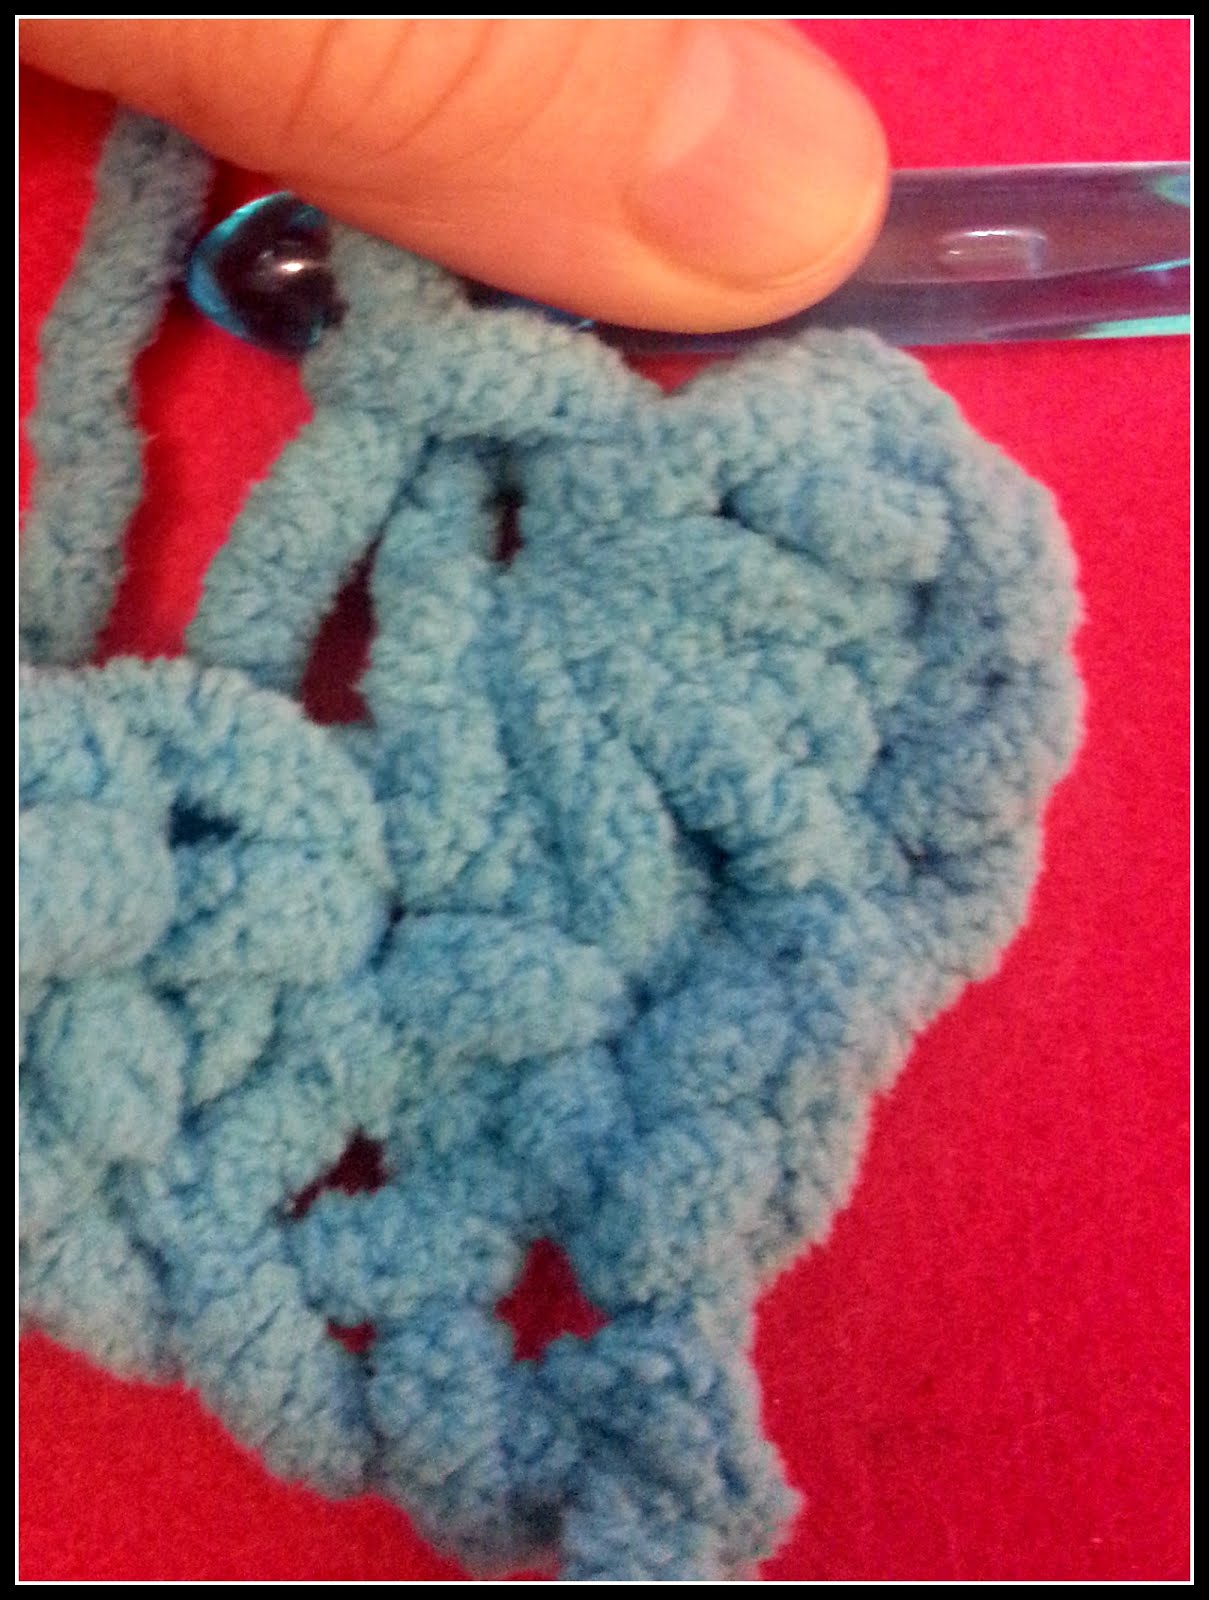
*Insert hook through the hole made when you closed the star and pull up a loop
Each star has 6 loops. At the base of the 6th loop (last one you picked up, not the first) pull up TWO more loops. Go under one bar for the first and then both for the second
Now pull up loops in the next two stitches. Each star is made by pulling up 4 loops on the previous star and then adding two more from new stitches
Work the same as the previous star. Yarn over and pull through all 6 loops and then yarn over and pull through the loop on the hook closing the star. Repeat from * across
R3)
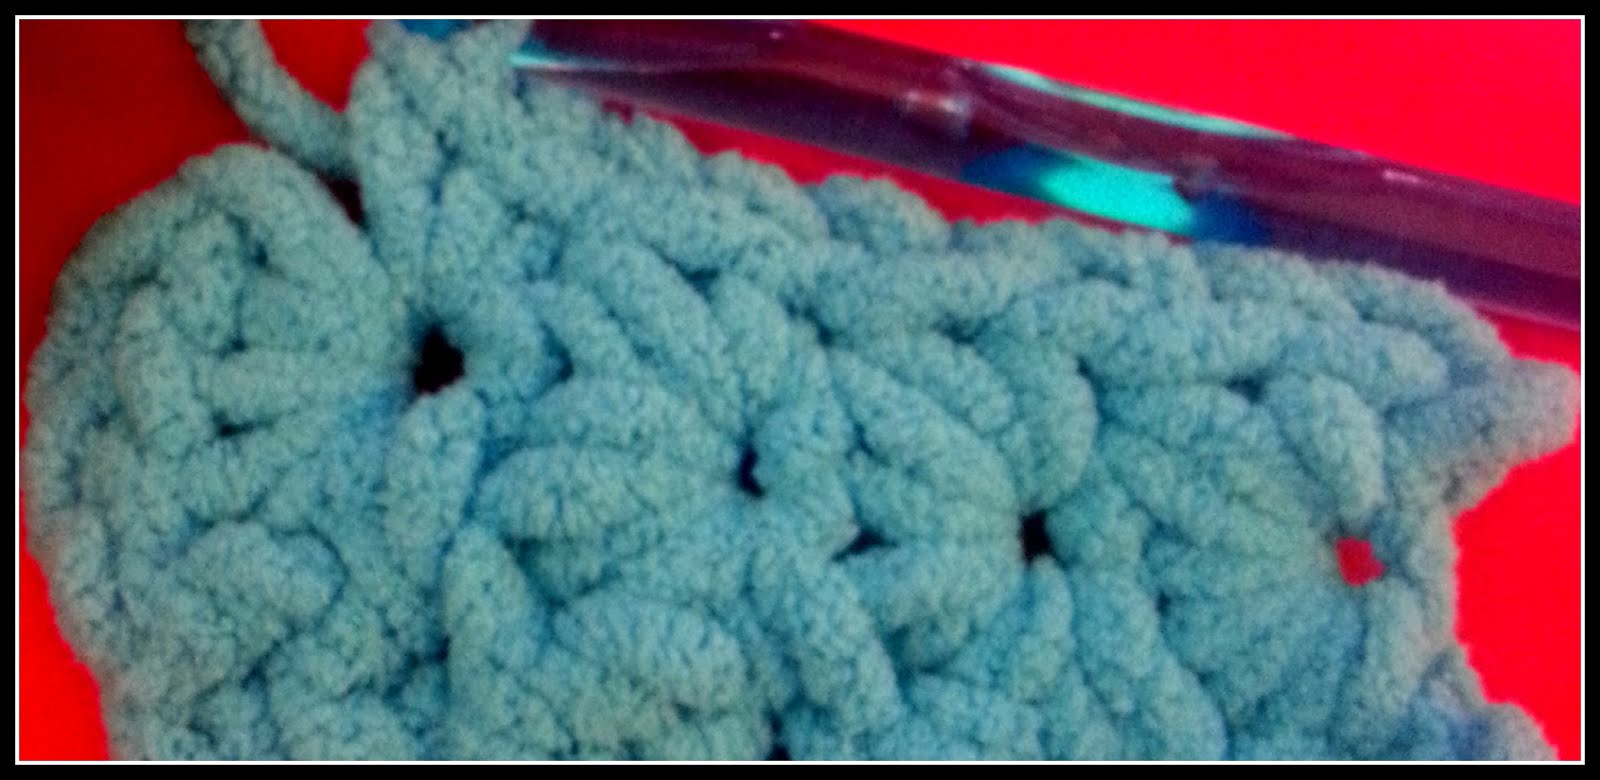
Now you’ve got a row of stars which is the front of the blanket. This row creates the back. There is a right and wrong side to this one, but it’s pretty obvious when you look at it. Clear stars on the front, some bars and other stuff in the way on teh back.
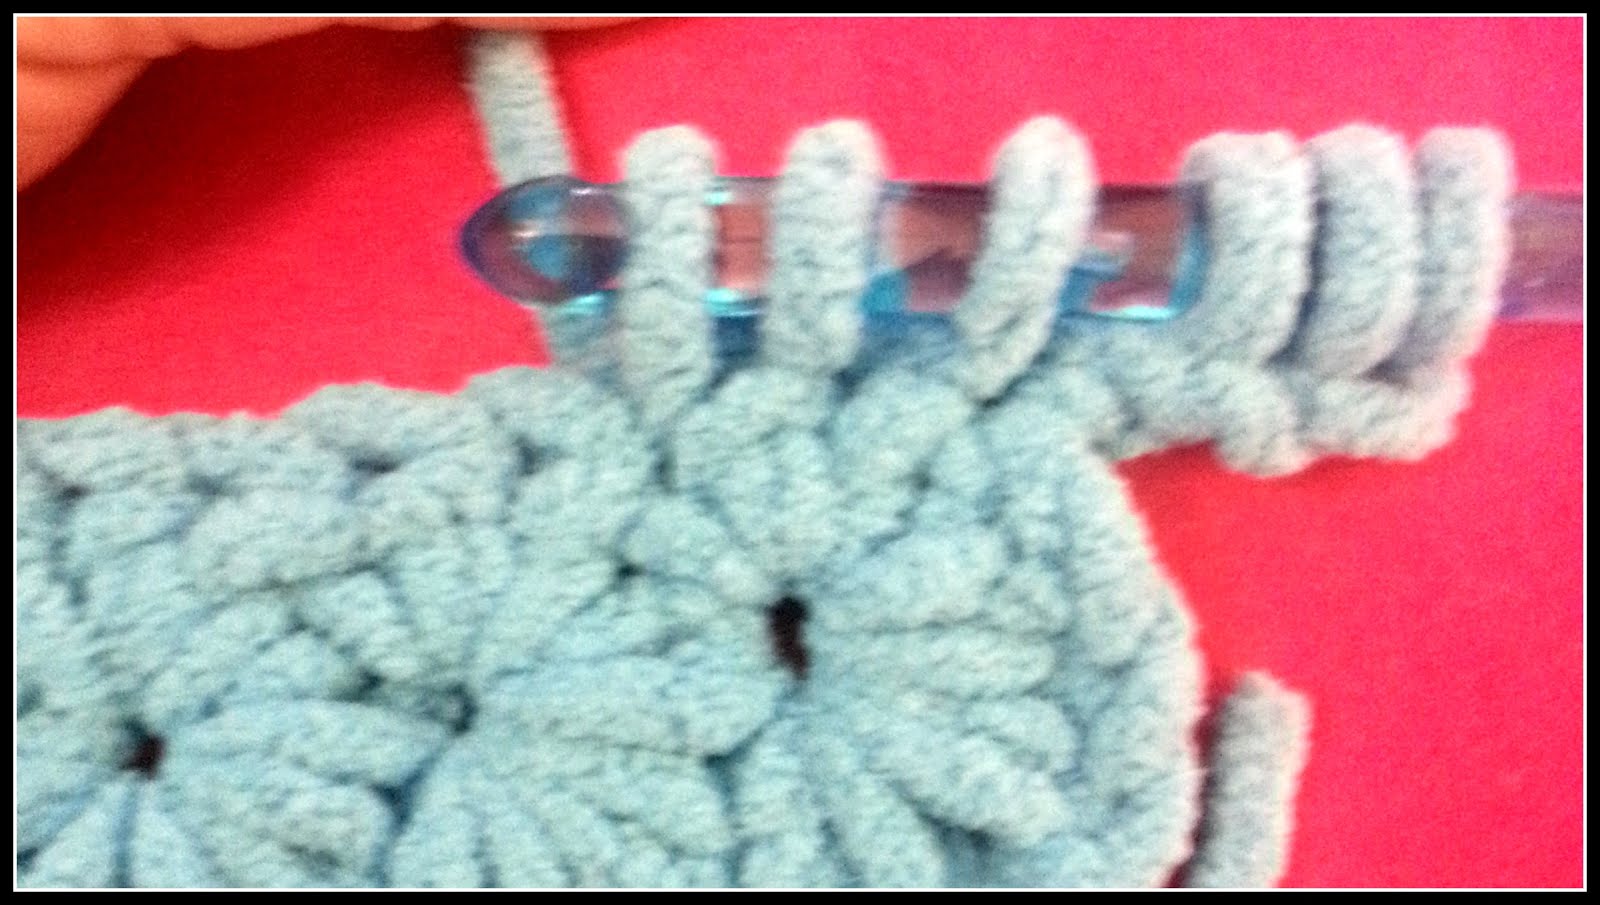
For this row you’ll make 2 sc in the center hole of each star. Be sure not to miss the first one - the last star you made. You should have 29 stars, so 58 sc when you’ve gone through each one.
But that leaves the end kind of bumpy and not so neat.
sc in the outer edge of the last star

That’s why row 2 was different. It starts with 58 sc, but after this one you’ll have 59.
What that means is that for the next row you chain 3 instead of 4
R4)
Ch 3
Pick up loops in the 2nd & 3rd chains from the hook

Yarn over and pull through all 6 loops
Yarn over and pull through the loop still on the hook, closing the star
*Insert hook through the hole made when you closed the star and pull up a loop
At the base of the 6th loop (last one you picked up, not the first) pull up TWO more loops. Go under one bar for the first and then both for the second
Now pull up loops in the next two stitches.
Work the same as the previous star. Yarn over and pull through all 6 loops and then yarn over and pull through the loop on the hook closing the star. Repeat from * across
Row 5)
2 sc in the center hole of each star.
Sc in outer edge of last star (59 stitches)
Repeat Rows 4 & 5 18 more times
Last row - sc across - this gives you two rows of sc, the one from the last pattern repeat and the final one.
try to keep your tension even throughout the piece. It’s easy to start off loose and then get tighter as you go with this stitch. Guage isn’t important, but being consistent is.
Eding
With N hook
attach edging yarn to any side with front of blanket facing you.
Sc around, picking up two stitches in each star row and 1 sc in each sc row
At the corners, pick up 3 sc in each corner
join with ss to first sc.
Edging 2)
Chain 3 - counts as first DC
DC in same stitch
DC next stitch
For the edge, 2 DC in one stitch and DC the next all the way around. This gives the edges a wavy appearance.
Starfish
___
With contrasting color and N hook
Make a sliding ring
15 sc in ring
join with ss to first sc pull ring tight and secure
Each leg is worked individually off of the body instead of the piece being done in rounds
For each leg
ch 6
in 2nd ch from hook sc
hdc next stitch
dc each of next 3 stitches
skip 2 sc on ring and ss next stitch.
Repeat leg 4 more times making 5 legs (3 sc on ring used per leg)
fasten off.
Sand dollars
--------
With J hook and contrasting color
Make a sliding/magic ring
R1)
10 sc in ring
join with ss to first sc
R2)
ch 1, 2 sc same stitch
2 sc each stitch around
join with ss to first sc made (end here for smallest sand dollar)
R3)
ch 1, 2 sc same stitch
sc next stitch
*2 sc next stitch
sc next stitch
Repeat from * around
join with ss to first sc made (end here for small sand dollar)
R4)
ch 1, 2 sc same stitch
sc next 2 stitches
*2 sc next stitch
sc next 2 stitches
Repeat from * around
Join with ss to first sc made (end here for medium sand dollar)
R5)
ch 1, 2 sc same stitch
sc next 3 stitches
*2 sc next stitch
sc next 3 stitches
Repeat from * around
Join with ss to first sc made.
fasten off - large sand dollar
Using darker yarn, embroider the star shape on to the sand dollars.
Arrange the starfish and sand dollar appliques and sew on. Since it’s for baby, be sure to sew securely.
weave in all ends.

No comments:
Post a Comment